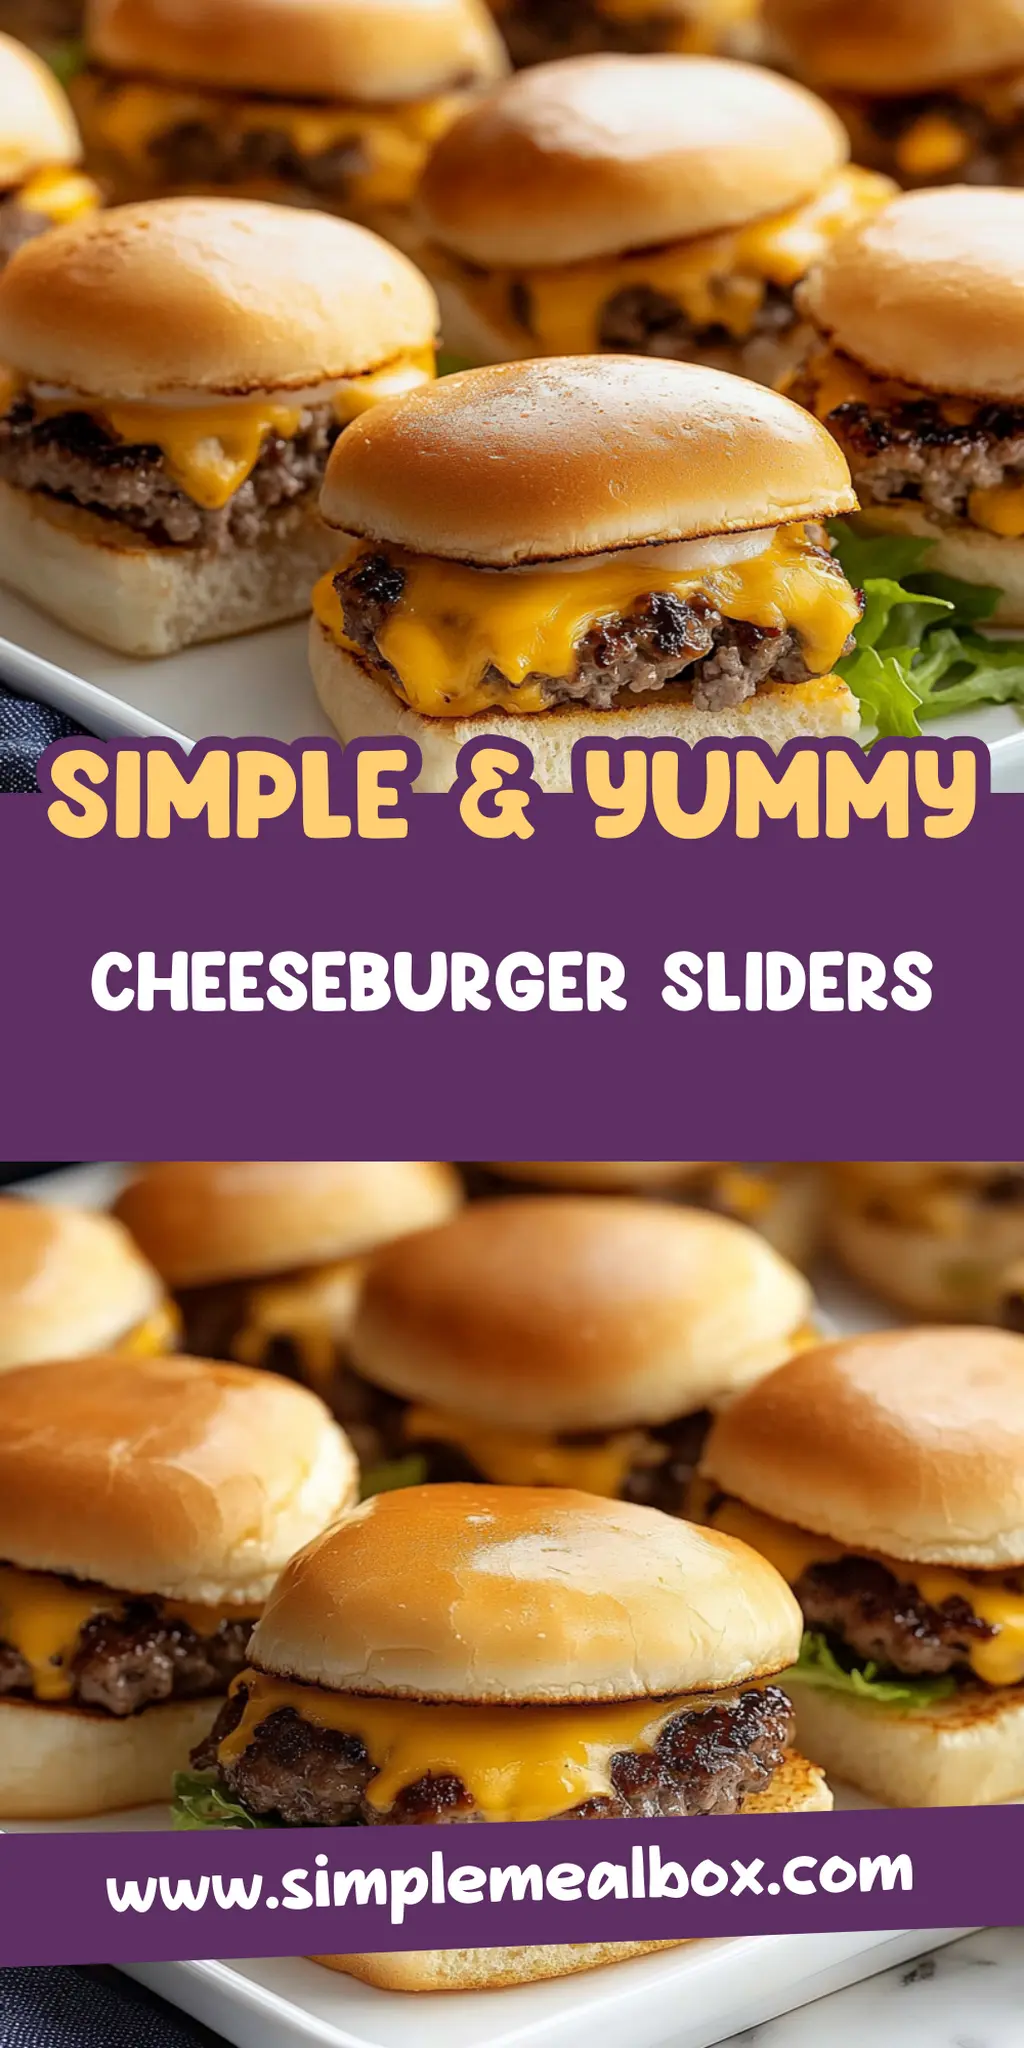
Easy Cheeseburger Sliders Recipe Ready in Just 25 Minutes
Imagine biting into a warm, cheesy slider that practically melts in your mouth. These cheeseburger sliders are not just a meal; they’re a mini culinary hug that brings joy to your taste buds and warmth to your heart. Perfect for game days, movie nights, or any gathering where fun and flavor collide, cheeseburger sliders always steal the show.
Now, let me take you on a journey back to those summer barbecues at Grandma’s backyard, where the smell of grilled burgers wafted through the air, mingling with laughter and the sound of squeaky swings. It’s those memories that fuel my passion for creating these little bites of happiness. Intrigued? I promise that each cheeseburger slider will remind you of those golden moments when food and family meant everything.
Why You'll Love This Cheeseburger Sliders
- This incredible Cheeseburger Sliders transforms simple everyday ingredients into restaurant-quality flavors that will blow your mind completely.
- Foolproof recipe techniques guarantee perfect results every single time, making even novice cooks feel like professional chefs instantly.
- Stunning visual appeal with gorgeous colors and mouthwatering aromas creates the ultimate Instagram-worthy dish for any special occasion.
- Endlessly adaptable for different dietary needs while working beautifully for meal prep, date nights, or entertaining large groups effortlessly.
Ingredients for Cheeseburger Sliders
Here’s what you’ll need to make this delicious Cheeseburger Sliders:
1 lb ground beef – Choose high-quality beef for juicy, flavorful sliders; an 80/20 blend is ideal for the perfect fat-to-meat ratio.
8 soft slider buns – Look for fresh, soft slider buns that will hold up against your toppings without falling apart.
8 slices sharp cheddar cheese – Cheddar adds a rich, tangy flavor; feel free to substitute with your favorite cheese variety.
1/2 cup dill pickles, sliced – These crunchy pickles provide the perfect tang to balance the richness of the beef and cheese.
2 tbsp ketchup – Classic tomato ketchup adds sweetness and a touch of acidity to each bite.
2 tbsp mustard – A dollop of mustard complements the ketchup and adds a zingy flavor that cuts through the richness.
How to Make Cheeseburger Sliders
Follow these simple steps to prepare this delicious Cheeseburger Sliders:
Step 1: Preheat the Oven
Start by preheating your oven to 350°F (175°C). This is crucial as it ensures that your sliders are warm and toasty while the cheese melts to gooey perfection.
Step 2: Prepare the Beef Patties
In a large bowl, mix the ground beef with salt and pepper to taste. Remember, seasoning is key! Form the mixture into small patties, each about 2 ounces. Think of these like mini-cousins to the classic burger—adorable and ready for action!
Step 3: Sear the Patties
Heat a skillet over medium-high heat and add a splash of oil to prevent sticking. Cook each patty for about 3 minutes on each side until they are beautifully browned and fully cooked. Now, here’s a pro tip: place a slice of cheese on each patty during the last minute of cooking to let it melt gloriously—because, let’s face it, cheese makes everything better!
Step 4: Assemble the Sliders
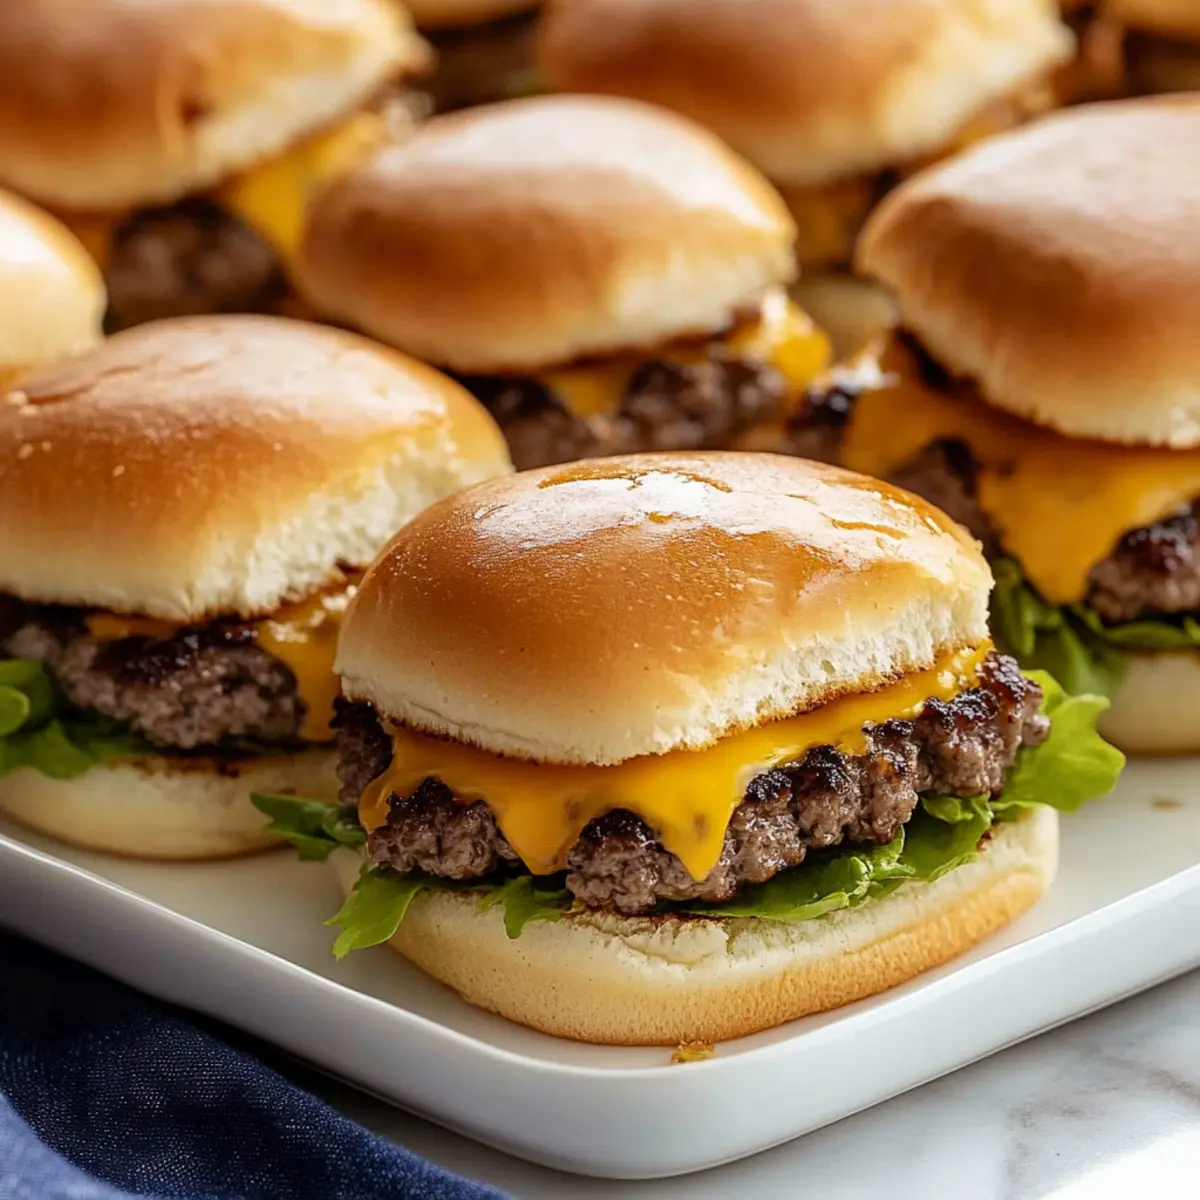
Slice the slider buns in half and lay the bottom halves on a baking sheet. Place one cheesy beef patty on each bun. Now, top them generously with the dill pickle slices, ketchup, and mustard. Feel free to get creative; this is your chance to personalize your sliders!
Step 5: Bake and Warm Through
Cover your assembled sliders with the top halves of the buns and pop them in the oven for about 5 minutes. This short baking time just warms everything up and gives the buns a chance to toast slightly.
Step 6: Serve and Enjoy
Once done, take them out of the oven and serve them warm. Trust me, your friends and family will have a hard time waiting before diving in.
These cheeseburger sliders are not just about satisfying hunger; they’re about creating memories that linger long after the meal is over. So whether it’s game day, a casual family dinner, or just a craving on a rainy afternoon, whip up a batch, and I guarantee you’ll find smiles all around the table. Enjoy!
You Must Know About Cheeseburger Sliders
- This showstopping Cheeseburger Sliders delivers restaurant-quality results using simple ingredients you probably already have at home.
- The perfect balance of textures and flavors creates an unforgettable dining experience that will have everyone asking for seconds.
- Picture-perfect presentation with vibrant colors makes this dish absolutely Instagram-worthy and guaranteed to impress any dinner guest.
- Incredibly versatile recipe that works beautifully for weeknight dinners, meal prep, special occasions, or even outdoor entertaining sessions.
Perfecting Cheeseburger Sliders Cooking Process
To achieve the best Cheeseburger Sliders, start by cooking the patties first so they can develop that delicious sear. While those are sizzling, prepare the buns and toppings, ensuring everything is ready for assembly right after you pull the patties off the heat.
Add Your Touch to Cheeseburger Sliders
Get creative with these Cheeseburger Sliders by swapping in ground turkey or chicken instead of beef. Experiment with different cheeses like pepper jack for an extra kick, or add jalapeños for some spicy flair!
Storing & Reheating Cheeseburger Sliders
Store leftover Cheeseburger Sliders in an airtight container in the fridge for up to three days. To reheat, pop them in the oven at 350°F until warmed through, keeping those buns soft and delightful.
Chef's Helpful Tips for Cheeseburger Sliders
- This professional-quality Cheeseburger Sliders relies on precise timing and temperature control to achieve restaurant-standard results consistently.
- Master the art of mise en place by prepping all ingredients beforehand, ensuring smooth execution and preventing any last-minute cooking disasters.
- The secret lies in layering flavors throughout the cooking process rather than seasoning only at the end for maximum depth.
- Pro tip: let the finished dish rest for optimal texture and flavor development before serving to hungry guests waiting eagerly.
Sharing these sliders with friends always sparks their enthusiasm; once, a friend declared these the best sliders he’d ever tasted. That moment made every minute in the kitchen worthwhile and encouraged me to keep experimenting.
FAQs About Cheeseburger Sliders
What are Cheeseburger Sliders?
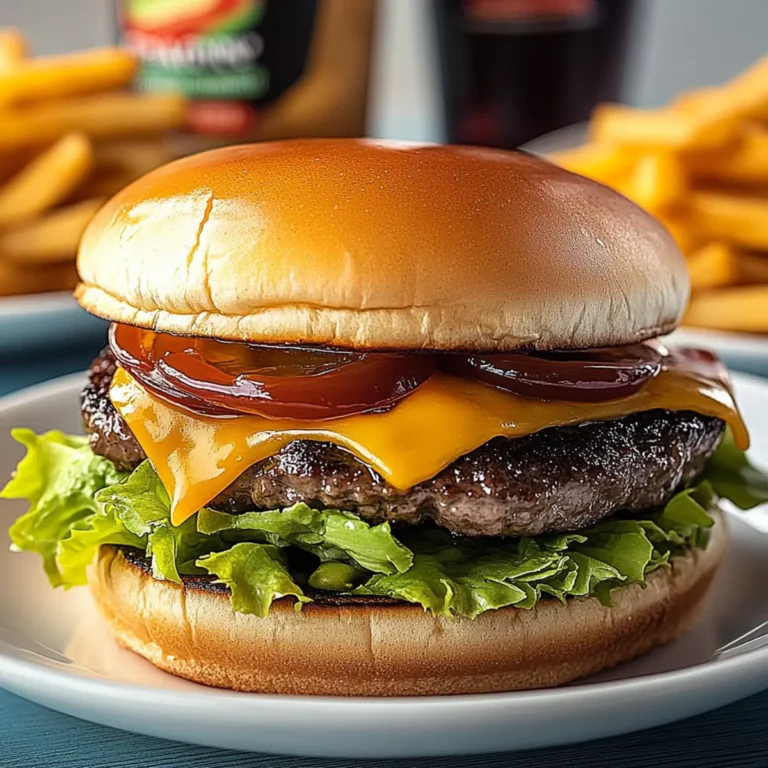
Cheeseburger sliders are mini burgers that pack all the juicy, cheesy goodness of a traditional cheeseburger into a bite-sized format. These delightful little sandwiches typically use a slider bun and feature ground beef patties topped with melted cheese, pickles, ketchup, and mustard. Perfect for parties, game days, or any casual gathering, they serve as a fun and satisfying alternative to full-sized burgers. Their compact size makes them easy to handle, ensuring everyone can grab a few without any mess.
How do I make Cheeseburger Sliders?
To make cheeseburger sliders, start by creating small patties from ground beef, seasoning them simply with salt and pepper. Cook the patties in a skillet until browned, adding cheese to melt during the last minute. Place each patty in a slider bun, add your favorite toppings like pickles, ketchup, and mustard, and then bake them in the oven for a few minutes. This quick and easy recipe allows you to enjoy delicious sliders in just about 25 minutes!
Can I customize Cheeseburger Sliders?
Absolutely! One of the best things about cheeseburger sliders is their versatility. You can substitute ground beef with turkey or chicken for a lighter option. Experiment with different types of cheese like pepper jack for extra spice or creamy goat cheese for a gourmet twist. Also, don’t hesitate to add toppings like jalapeños, avocado, or specialty sauces to elevate the flavor profile. The possibilities are endless!
How should I store leftovers from Cheeseburger Sliders?
If you have any leftover cheeseburger sliders, store them in an airtight container in the refrigerator. They will keep well for about three days. When it’s time to enjoy them again, preheat your oven to 350°F and reheat the sliders for a few minutes. This method keeps the buns soft and the filling warm, so you can savor those delicious flavors once more. Just like fresh from the oven!
Conclusion for Cheeseburger Sliders
In summary, cheeseburger sliders are a delightful, bite-sized treat that brings all the flavors of a classic cheeseburger to your table in a fun and shareable way. With a preparation time of just 25 minutes, they make for an easy meal option, whether for casual dinners, gatherings, or weeknight cravings. Customize them to suit your tastes, and don’t forget to enjoy every delicious bite. Give these cheeseburger sliders a try, and watch them become a favorite in your household!
Cheeseburger Sliders
Ingredients
Equipment
Method
- Preheat your oven to 350°F (175°C).
- In a bowl, mix ground beef with salt and pepper. Form into small patties (about 2 ounces each).
- Heat a skillet over medium-high heat with a splash of oil. Cook each patty for about 3 minutes per side until browned. Add cheese during the last minute to melt.
- Slice slider buns in half. Place bottom halves on a baking sheet, add one patty per bun, top with pickles, ketchup, and mustard.
- Cover with bun tops and bake for about 5 minutes until warmed through.