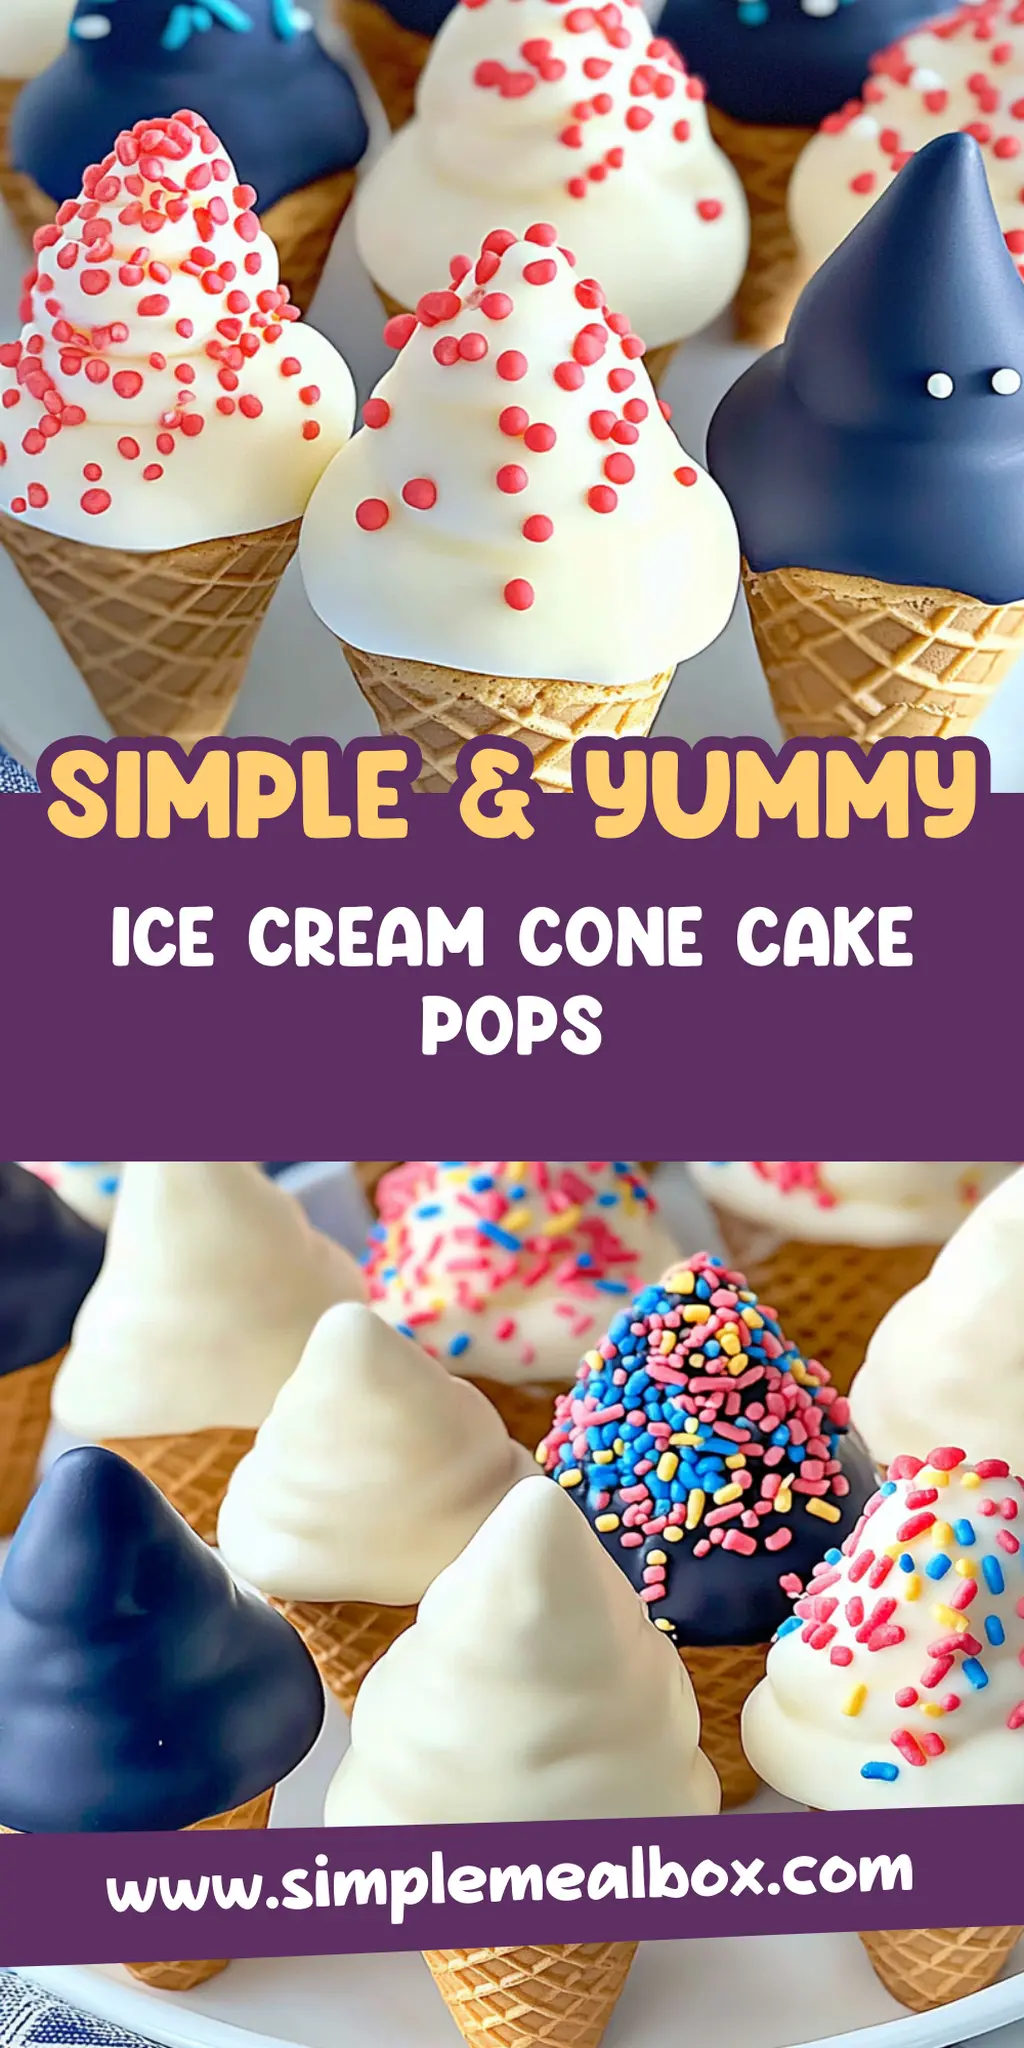
Delicious Ice Cream Cone Cake Pops Recipe for Easy Summer Treats
Imagine walking into a room filled with the sweet aroma of baked vanilla cake, sprinkled with colorful sprinkles, each bite mirroring the joy of eating ice cream on a hot summer day. Picture Ice Cream Cone Cake Pops, a delightful twist on a classic favorite, transforming ordinary cake into a playful, hand-held treat that is as fun to make as it is to eat.
When I first encountered these charming creations at a backyard barbecue, I was immediately smitten. I mean, who wouldn’t be enchanted by a dessert that combines cake and ice cream in one glorious package? Whether you’re looking to impress guests at your next gathering or simply desire a sweet escape on a quiet afternoon, these pops are your ticket to delicious nostalgia.
Why You’ll Love This Ice Cream Cone Cake Pops
This incredible Ice Cream Cone Cake Pops transforms simple everyday ingredients into restaurant-quality flavors that will blow your mind completely. Foolproof recipe techniques guarantee perfect results every single time, making even novice cooks feel like professional chefs instantly. Stunning visual appeal with gorgeous colors and mouthwatering aromas creates the ultimate Instagram-worthy dish for any special occasion. Endlessly adaptable for different dietary needs while working beautifully for meal prep, date nights, or entertaining large groups effortlessly.
Ingredients for Ice Cream Cone Cake Pops
Here’s what you’ll need to make this delicious Ice Cream Cone Cake Pops:
1 box 15.25 oz vanilla cake mix – This is the base for your pops, ensuring a rich, soft texture. Whether you go for classic or a fun variation, this will set the tone for your pops.
3 large eggs – Adding eggs provides moisture and contributes to the cake’s fluffiness. Fresh eggs are best for the fluffiest result.
1 cup water – The perfect liquid to mix in with your cake ingredients, keeping the cake moist.
1/2 cup vegetable oil – This adds richness and a tender crumb to your cake, ensuring that cake stays moist and delicious.
1/2 cup chocolate frosting – The hero of our pops, this will bind the cake crumbs together and add that necessary chocolaty goodness.
Edible sprinkles or glitter for decoration – Who doesn’t love a bit of sparkle? Not just for show, they add a fun texture to your pops.
12 mini ice cream cones – These little conical wonders are what actually hold the cake pops, creating the quintessential ice cream experience.
How to Make Ice Cream Cone Cake Pops
Follow these simple steps to prepare this delicious Ice Cream Cone Cake Pops:
Step 1: Preheat and Prepare
Preheat your oven to 350°F (175°C). Prepare a baking pan according to the cake mix instructions, greasing it lightly to ensure the cake comes out effortlessly. Pour in that deliciously silky batter and let the baking magic happen for about 25-30 minutes or until golden brown.
Step 2: Cake Crumbling Time
Once cooled completely, it’s time for some satisfying crumbling. Crumble the cake into fine crumbs in a large bowl. The finer the crumbs, the easier they will mold together. To this delicious pile of sweet goodness, mix in the chocolate frosting until you achieve a moldable consistency.
Step 3: Roll into Pops
Now, take that delightful mixture and roll it into small balls, about one inch in diameter. It’s an all-you-can-eat kinda deal here, so don’t be shy about sneaking one for yourself during this riveting task.
Step 4: Prepare the Sticks
Melt your chocolate chips in a microwave-safe bowl until smooth. Dip one end of your lollipop sticks into the melted chocolate and then insert them into each cake ball. This helps to anchor the stick more securely when you dip them later.
Step 5: Chill Out
Place the pops in the fridge for about an hour to help them firm up. This chilling time is crucial for ensuring that your pops hold their shape during the dipping phase.
Step 6: Dip and Decorate
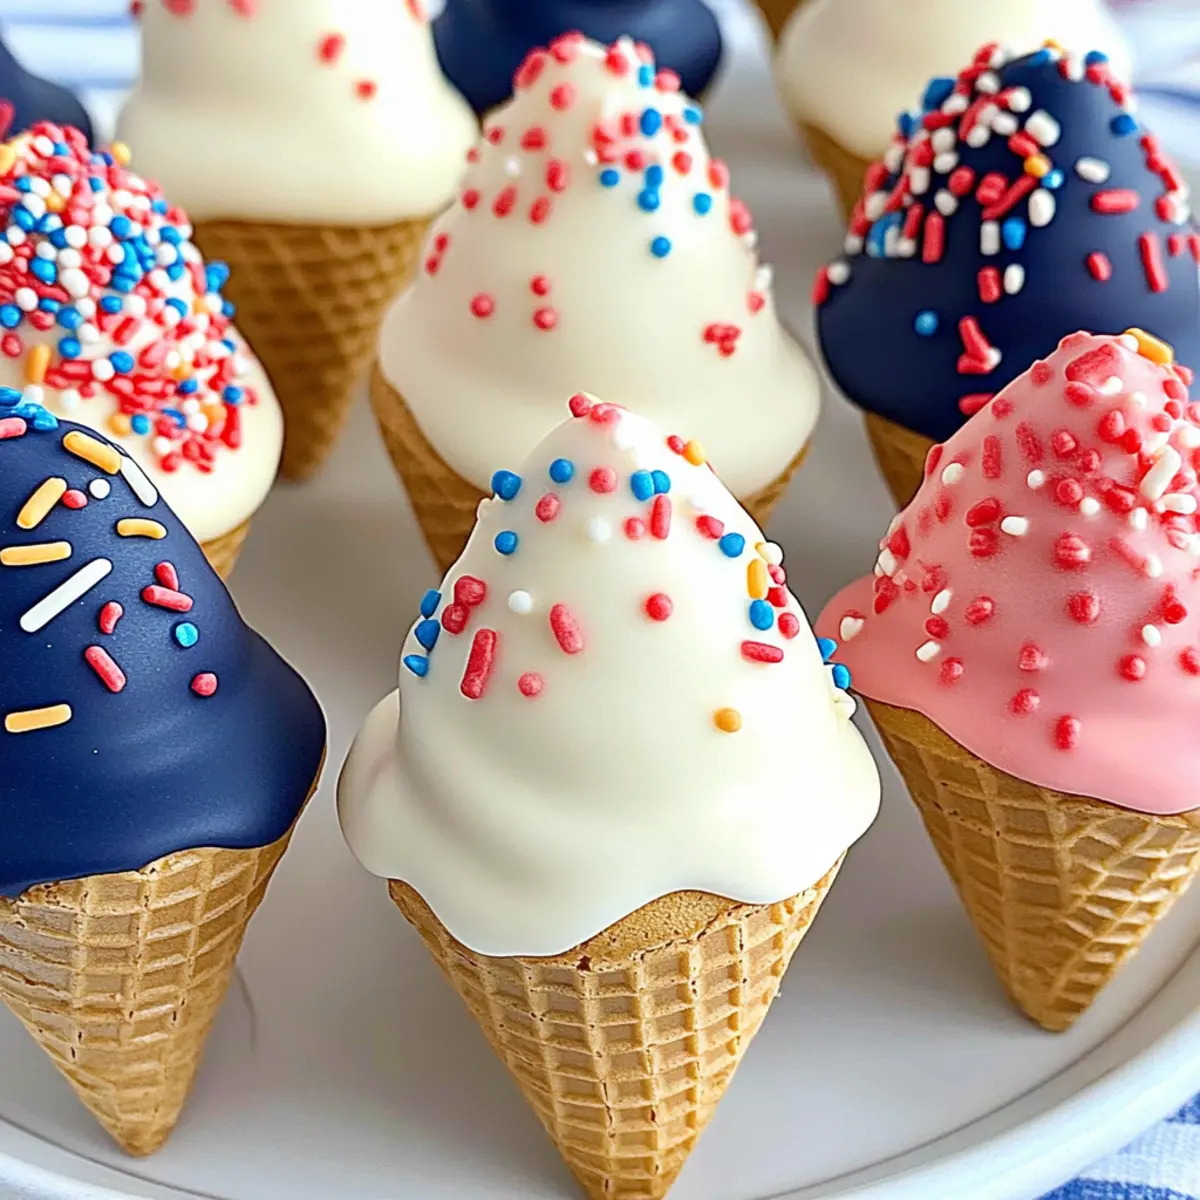
Once chilled, dip each pop into the melted chocolate, making sure to cover them completely for that luscious coating. Before the chocolate sets, shake on those fun edible sprinkles or glitter to make your pops look as delightful as they taste.
Serve these cake pops on a pretty platter or create a playful display for your guests, and watch as they disappear almost as quickly as you can make them. Whether at a summer picnic, birthday party, or simply as an afternoon snack, these Ice Cream Cone Cake Pops are sure to steal the show!
You Must Know About Ice Cream Cone Cake Pops
- This showstopping Ice Cream Cone Cake Pops delivers restaurant-quality results using simple ingredients you probably already have at home.
- The perfect balance of textures and flavors creates an unforgettable dining experience that will have everyone asking for seconds.
- Picture-perfect presentation with vibrant colors makes this dish absolutely Instagram-worthy and guaranteed to impress any dinner guest.
- Incredibly versatile recipe that works beautifully for weeknight dinners, meal prep, special occasions, or even outdoor entertaining sessions.
Perfecting Ice Cream Cone Cake Pops Cooking Process
Start by baking the cake first, allowing it to cool completely. While it cools, prepare your melted chocolate for dipping. Roll the cooled cake and frosting mixture into balls as things get exciting. Finally, dip and decorate for that stunning finish.
Add Your Touch to Ice Cream Cone Cake Pops
Feel free to experiment with different cake flavors like chocolate or red velvet. Add a dash of your favorite extracts, like almond or vanilla, and switch up the toppings with crushed nuts or colorful candies for a personalized touch everyone will love.
Storing & Reheating Ice Cream Cone Cake Pops
Store Ice Cream Cone Cake Pops in an airtight container in the fridge for up to a week. For longer storage, freeze the pops individually. Just thaw in the refrigerator without reheating to maintain their delightful texture.
Chef's Helpful Tips for Ice Cream Cone Cake Pops
- This professional-quality Ice Cream Cone Cake Pops relies on precise timing and temperature control to achieve restaurant-standard results consistently.
- Master the art of mise en place by prepping all ingredients beforehand, ensuring smooth execution and preventing any last-minute cooking disasters.
- The secret lies in layering flavors throughout the cooking process rather than seasoning only at the end for maximum depth.
- Pro tip: let the finished dish rest for optimal texture and flavor development before serving to hungry guests waiting eagerly.
Sharing this recipe reminds me of the first time I made these pops for a birthday party. Watching the kids dive into the cake pops was pure joy. Their smiles were as big as the ice cream cones!
FAQs About Ice Cream Cone Cake Pops
What is Ice Cream Cone Cake Pops?
Ice Cream Cone Cake Pops are delightful treats combining the fun of cake pops and the nostalgic charm of ice cream cones. Made from crumbled cake mixed with frosting, they’re rolled into bite-sized balls, inserted into mini ice cream cones, and coated in chocolate. Topped with sprinkles, these pops are perfect for parties or a sweet afternoon snack. They bring together a variety of textures and flavors, making them a playful and delicious dessert everyone will love.
How do I make Ice Cream Cone Cake Pops?
To make Ice Cream Cone Cake Pops, start by baking a vanilla cake and letting it cool completely. After crumbling the cooled cake, mix it with chocolate frosting until it’s moldable. Shape the mixture into small balls, dip lollipop sticks into melted chocolate for added stability, and insert them into the balls before chilling. Finally, dip the pops into melted chocolate, sprinkle with your favorite toppings, and enjoy this fun treat!
Can I customize my Ice Cream Cone Cake Pops?
Absolutely! One of the best aspects of Ice Cream Cone Cake Pops is their versatility. You can use different cake flavors like chocolate or red velvet instead of vanilla. Add flavored extracts like almond or mint to enhance the taste. For toppings, consider crushed nuts, chocolate chips, or exciting candies for a unique twist. Your creativity can shine through making each batch completely your own!
How long can I store Ice Cream Cone Cake Pops?
You can store Ice Cream Cone Cake Pops in an airtight container in the refrigerator for up to a week. If you want to keep them longer, you can freeze the pops individually. When you’re ready to enjoy them, simply thaw the pops in the refrigerator. Avoid reheating; this ensures the delightful texture remains intact, making every bite just as scrumptious as the first!
Conclusion for Ice Cream Cone Cake Pops
In conclusion, Ice Cream Cone Cake Pops are a fun and delicious way to indulge your sweet tooth. With simple ingredients and an easy process, these pops can be customized to your tastes, making them perfect for any occasion. Whether for a birthday party or just a treat for yourself, these delightful creations are sure to impress. Embrace your inner baker and enjoy the delightful flavors and textures of Ice Cream Cone Cake Pops!
Delicious Ice Cream Cone Cake Pops Recipe for Easy Summer Treats
Ingredients
Equipment
Method
- Preheat the oven to 350°F (175°C). Prepare a baking pan according to the cake mix instructions. Pour in the batter and bake until golden, about 25-30 minutes. Allow cooling completely.
- Once cooled, crumble the cake into fine crumbs in a bowl. Mix in chocolate frosting until moldable.
- Roll the mixture into balls about one inch in diameter.
- Melt chocolate chips and dip one end of lollipop sticks into the chocolate before inserting them into each cake ball.
- Chill the pops for an hour. Dip each pop in melted chocolate and decorate with sprinkles before serving.