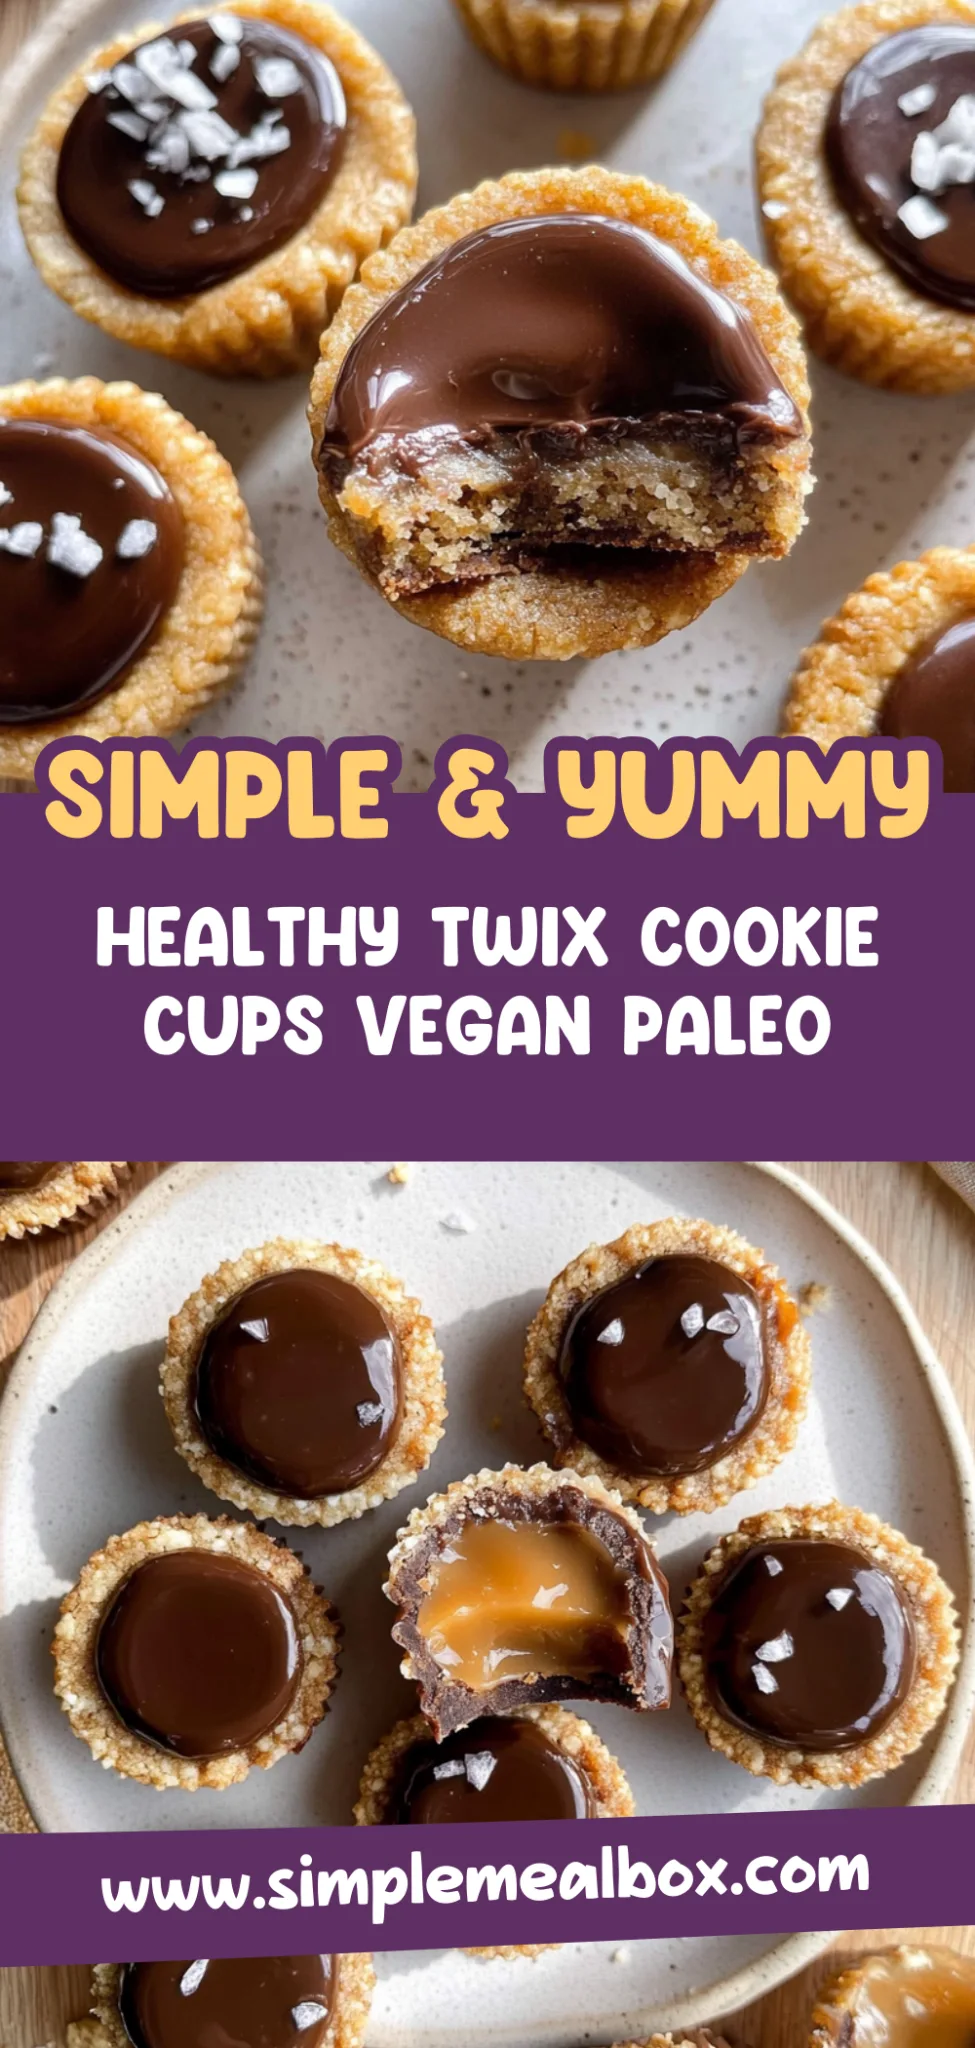
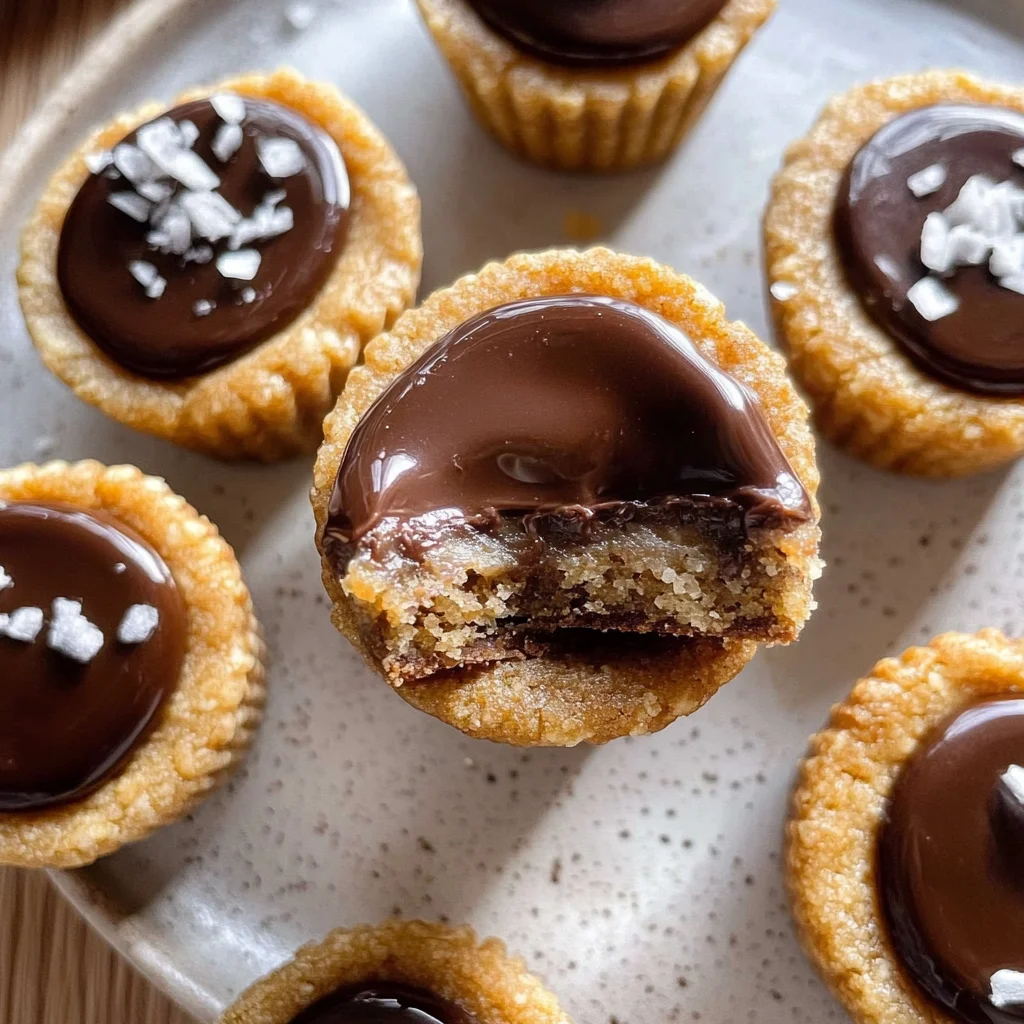
Healthy Twix Cookie Cups: Guilt-Free Indulgence Awaits
Decadent Delight, Guilt-Free Indulgence
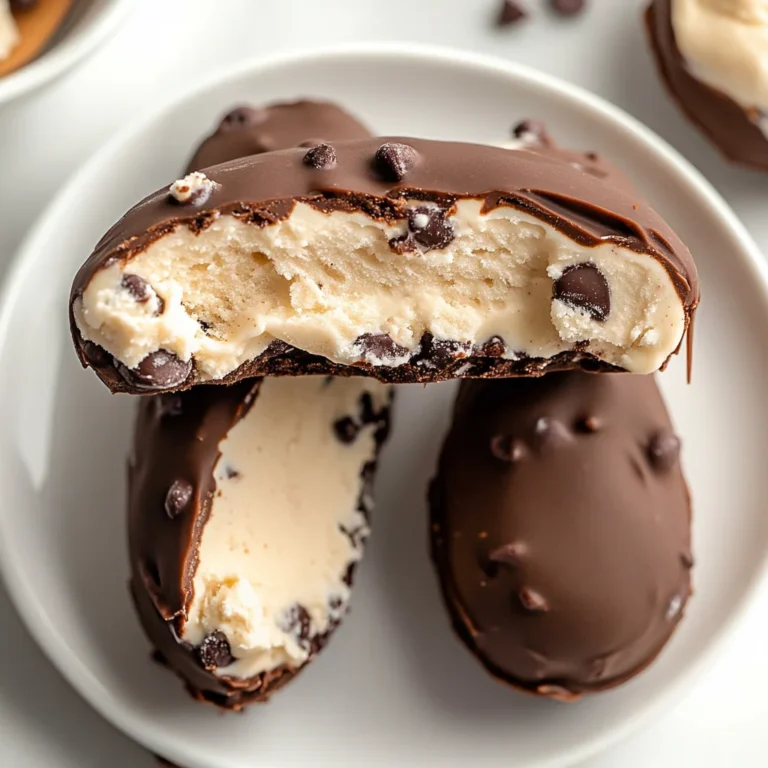
I first whipped up these Healthy Twix Cookie Cups (Vegan, Paleo) on a cozy afternoon when I craved something sweet but didn’t want to compromise on health. The moment I took my first bite, the delightful blend of creamy nut butter and rich chocolate made my taste buds dance with joy. They’re incredibly easy to prepare, and the texture is just heavenly—crispy on the outside and soft in the middle.
What truly makes these cookie cups special is the intoxicating aroma that fills your kitchen as they bake, drawing everyone in with anticipation. Whether you’re treating yourself after a long day or planning a special dessert for a date night, these treats are sure to impress. The smiles on my friends’ faces when they tasted them were priceless!
For an extra touch of indulgence, serve them warm with a scoop of your favorite dairy-free ice cream or sprinkle some sea salt on top for that perfect balance of sweet and salty. I can’t wait for you to experience the joy that comes with creating these Healthy Twix Cookie Cups (Vegan, Paleo) — it’s time to roll up your sleeves and dive into this delightful adventure!
What are Healthy Twix Cookie Cups (Vegan, Paleo)?
Healthy Twix Cookie Cups (Vegan, Paleo) are a delightful twist on the classic candy bar, transformed into a wholesome treat that combines a rich cookie cup with layers of creamy caramel and smooth chocolate. The base is made from almond flour, coconut oil, and maple syrup, which gives it a tender yet slightly crispy texture that perfectly complements the gooey sweetness of the date and nut butter caramel layer. Topped with melted dark chocolate chips mixed with a touch of coconut oil, these cookie cups are both indulgent and nutritious. Baked in the oven for minimal time, they offer an easy cleanup solution—perfect for satisfying your sweet tooth without the fuss!
Perfect For:
A Health-Conscious Treat: These Healthy Twix Cookie Cups pack all the indulgence of a classic dessert while being vegan and paleo-friendly, making them a guilt-free treat for those mindful of their health.
Fun Family Baking Days: Get the kids involved in the kitchen! These cookie cups are simple to make and can be customized with toppings, ensuring everyone can enjoy their own delicious creation.
Impressive Dessert for Gatherings: Serve these delightful cookie cups at your next gathering or potluck, and watch as they disappear quickly — they look stunning on any dessert table and will wow your guests.
Cozy Nights In: Whether it’s a rainy day or you’re enjoying a quiet evening at home, these rich and satisfying cookie cups are perfect for curling up on the couch with a sweet treat that feels comforting and nourishing.
Ingredients for Healthy Twix Cookie Cups (Vegan, Paleo)
For the Cookie Base
- 1 cup almond flour – This gluten-free flour gives the cookie cups a nutty flavor and a delightful texture.
- 1/4 cup coconut oil (melted) – Provides moisture and richness while keeping these treats dairy-free.
- 1/4 cup maple syrup – A natural sweetener that complements the nutty flavors beautifully.
- 1/2 teaspoon vanilla extract – Adds warmth and depth to the overall taste of the cookie base.
- 1/4 teaspoon baking soda – Helps the cookie cups rise slightly, creating a light texture.
- 1/4 teaspoon salt – Balances sweetness and enhances all the flavors in your cookie cups.
For the Caramel Layer
- 1/2 cup dates (pitted and soaked in water for 10 minutes) – Naturally sweetened, these create a deliciously chewy caramel consistency.
- 1/4 cup nut butter (such as almond or cashew) – Adds creaminess and binds the caramel layer together perfectly.
- 1 tablespoon coconut milk – Contributes a touch of creaminess to your caramel without any dairy.
- 1/2 teaspoon vanilla extract – Enhances the rich flavor of your homemade caramel layer.
For the Chocolate Topping
- 1/2 cup dark chocolate chips (dairy-free) – Melts beautifully to create a luscious topping that feels indulgent yet healthy.
- 1 teaspoon coconut oil – Ensures the chocolate topping is smooth and shiny, elevating your Healthy Twix Cookie Cups (Vegan, Paleo) to gourmet status.
Kitchen Equipment You’ll Need
- Mixing bowl
- Muffin tin
- Parchment paper
- Food processor
- Microwave-safe bowl
- Rubber spatula
Step-by-Step Instructions
Step 1:
Preheat your oven to 350°F (175°C). This will ensure that your cookie cups bake evenly and achieve that perfect golden brown color we’re aiming for.
Step 2:
In a mixing bowl, combine 1 cup of almond flour, 1/4 cup of melted coconut oil, 1/4 cup of maple syrup, 1/2 teaspoon of vanilla extract, 1/4 teaspoon of baking soda, and 1/4 teaspoon of salt. Mix these ingredients together until a dough forms; it should be slightly sticky but manageable.
Step 3:
Line a muffin tin with parchment paper for easy removal later. Next, press the dough into the bottom of each cup to form a solid base. Make sure to pack it down firmly so that it holds its shape during baking.
Step 4:
Place the muffin tin in your preheated oven and bake for about 10-12 minutes or until the cookie bases turn golden brown. Keep an eye on them as they bake; you want them to look deliciously toasted but not burnt. Once done, remove them from the oven and let them cool completely.
Step 5:
In a food processor, combine the soaked dates, 1/4 cup of nut butter, 1 tablespoon of coconut milk, and 1/2 teaspoon of vanilla extract. Blend these ingredients together until you achieve a smooth and creamy caramel consistency. This should take just a minute or two!
Step 6:
Spread the caramel mixture evenly over each cooled cookie base. Take your time to ensure each one is generously topped with this rich layer; it’s going to add such a delightful flavor!
Step 7:
In a microwave-safe bowl, combine 1/2 cup of dairy-free dark chocolate chips with 1 teaspoon of coconut oil. Microwave in short bursts of 30 seconds, stirring in between until the mixture is melted and smooth. This process will make it easier to drizzle over your treats.
Step 8:
Once melted, drizzle the chocolate over the caramel layer in each cookie cup. Be creative here! You can create beautiful patterns or simply cover them all generously—both will taste amazing.
Step 9:
Finally, refrigerate your cookie cups for at least 15 minutes to allow the chocolate to set properly. This step is crucial as it helps everything firm up beautifully so you can enjoy them without any mess!
Tips
- Soak your dates properly: Make sure to soak your dates in warm water for at least 10 minutes before blending. This softens them, making it easier to achieve a smooth caramel consistency without chunks.
- Use room temperature ingredients: Allow your coconut oil and nut butter to come to room temperature before mixing. This helps them blend seamlessly into the dough and caramel, ensuring a smooth texture throughout.
- Don’t overbake the cookie base: Keep an eye on your cookie cups as they bake. Remove them from the oven as soon as they turn golden brown; overbaking can lead to a dry crust that doesn’t hold the layers together well.
- Chill between layers: After spreading the caramel over the cooled cookie bases, consider chilling them briefly before adding the chocolate topping. This helps the caramel firm up, preventing it from mixing with the chocolate when drizzled.
- Microwave chocolate carefully: Melt your dark chocolate chips in short intervals of 30 seconds, stirring in between. This prevents overheating, which can cause the chocolate to seize up and ruin its texture.
- Let them set properly: After drizzling on the chocolate, refrigerate the cookie cups for at least 15 minutes. This allows the chocolate to harden fully, creating a satisfying snap with each bite.
Optional Ingredients
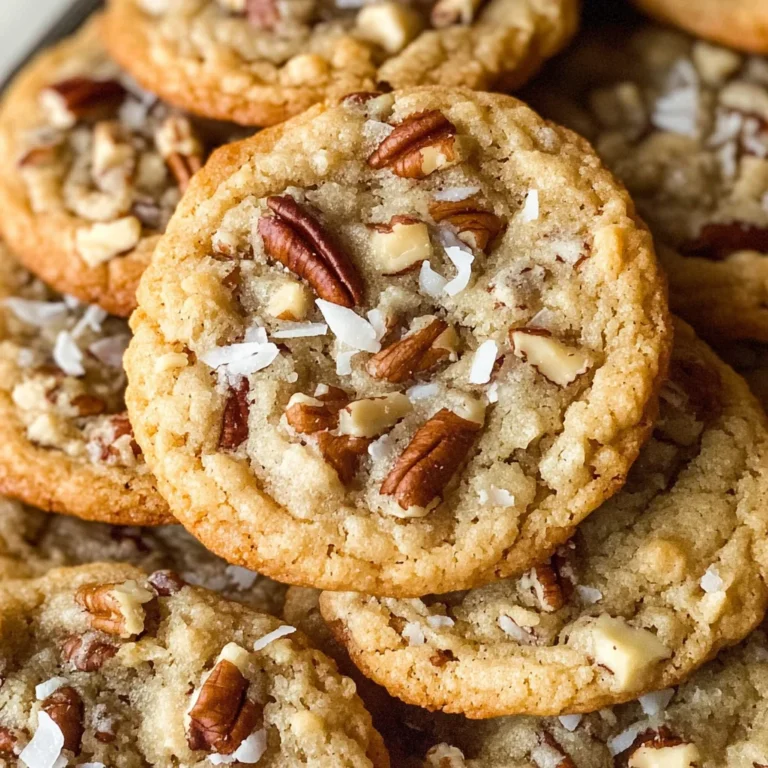
- Coconut Flakes: Toasted coconut flakes add a delightful crunch and a rich tropical flavor that elevates the cookie cups. Scatter them on top of the chocolate layer for an irresistible finish.
- Cinnamon: A pinch of ground cinnamon can enhance the warmth and depth of flavor in your cookie cups, providing a cozy spice element. Mix it into the cookie base or sprinkle on top before serving.
- Chopped Nuts: Adding chopped walnuts or pecans introduces an earthy richness and satisfying crunch to your treats. Fold them into the cookie base or sprinkle on top of the caramel layer for added texture.
- Orange Zest: Brighten up the flavors with a touch of freshly grated orange zest, which adds a refreshing citrus note that complements the sweetness beautifully. Incorporate it into the caramel layer for a surprising twist.
- Maple Drizzle: For an extra touch of sweetness, drizzle some warm maple syrup over the finished cookie cups. This will not only enhance their natural sweetness but also create a beautiful glossy finish.
What to Pair with Healthy Twix Cookie Cups (Vegan, Paleo)?
To elevate your experience with Healthy Twix Cookie Cups, consider pairing them with a vibrant fresh salad. A simple arugula and citrus salad, tossed in a light vinaigrette, offers a peppery contrast that balances the cookie cups’ sweetness. The zesty notes from the citrus will cut through the richness of the chocolate and nut butter layers, providing a refreshing palate cleanser.
For a comforting side, roasted sweet potatoes or butternut squash would be an excellent choice. Their natural sweetness complements the caramel layer beautifully while introducing a heartier texture to your meal. The caramelized edges of the vegetables can mirror the delightful crunch of your cookie cups, creating harmony on your plate.
Don’t forget to consider a drink pairing as well; a chilled coconut milk smoothie infused with vanilla and banana would be ideal. This creamy beverage mirrors the flavors in the cookie cups while adding a luscious texture that enhances the overall indulgence. The tropical notes will resonate with the coconut oil and help create a cohesive flavor profile throughout your meal.
Variations and Substitutions
Coconut flour instead: Substitute almond flour with coconut flour for a lower-carb option. Keep in mind that coconut flour is highly absorbent, so use only 1/3 cup of coconut flour and increase the liquid slightly to maintain the cookie’s texture.
Peanut butter caramel: Swap out almond or cashew nut butter for creamy peanut butter in the caramel layer. This small change adds a rich, nutty flavor that pairs beautifully with chocolate, reminiscent of classic candy bars.
Sunflower seed butter: For a nut-free version, use sunflower seed butter instead of any nut butter. This offers a deliciously creamy texture and a subtle earthy taste while keeping it safe for those with nut allergies.
Maple syrup alternative: Replace maple syrup with agave nectar for a different sweetness profile. Agave is slightly milder and has a lower glycemic index, making it suitable for those watching their sugar levels.
Add cocoa powder: Mix in 2 tablespoons of unsweetened cocoa powder into your cookie base for an extra chocolatey flavor. This variation deepens the taste and color of the cups, making them even more indulgent.
Chopped nuts topping: Sprinkle chopped nuts like almonds or pecans over the chocolate topping before it sets. This adds a delightful crunch and enhances the overall texture while complementing the flavors of the cookie cups.
Sea salt finish: For added sophistication, sprinkle a pinch of flaky sea salt on top of the melted chocolate before refrigerating. The contrast between sweet and salty elevates each bite, bringing out the richness of the chocolate and caramel layers.
Refrigerate your Healthy Twix Cookie Cups in an airtight container to keep them fresh. They will stay good in the fridge for up to one week. To enjoy them again, simply remove from the refrigerator and let them sit at room temperature for a few minutes; if you’d like, you can gently warm them in the microwave for about 10-15 seconds to restore their soft texture.
These cookie cups freeze well, although the chocolate topping may become slightly less glossy upon thawing. To freeze, place individual cups in a freezer-safe container or wrap them tightly in plastic wrap followed by aluminum foil for added protection. They can be stored frozen for up to three months; when ready to eat, simply transfer them to the refrigerator overnight to thaw, or leave them out at room temperature for a couple of hours before enjoying.
Frequently Asked Questions
Can I use a different nut flour instead of almond flour for the cookie base?
Yes, you can substitute almond flour with other nut flours like cashew or hazelnut flour. Just keep in mind that the flavor and texture may vary slightly, but it should still work well in this recipe.
What can I use if I don’t have coconut oil on hand?
If you don’t have coconut oil, you can use other oils such as avocado oil or melted vegan butter. These alternatives will maintain a similar texture in the cookie base while providing a different flavor profile.
How do I know when the cookie cups are done baking?
The cookie cups are ready when they turn golden brown around the edges. Keep an eye on them as they bake for about 10-12 minutes, and check for a slight firmness when gently pressed.
Can I make these cookie cups ahead of time?
Absolutely! You can prepare the cookie cups in advance and store them in an airtight container in the refrigerator for up to five days. Just add the chocolate topping right before serving for the best texture.
Are these Healthy Twix Cookie Cups suitable for someone with nut allergies?
Unfortunately, this recipe contains nuts from both almond flour and nut butter. If you need to accommodate nut allergies, consider using sunflower seed flour and sunbutter as substitutes.
Can I use regular chocolate chips instead of dairy-free ones?
If you’re not concerned about keeping this recipe vegan or dairy-free, feel free to use regular chocolate chips. The recipe will still taste delicious, but note that it may not be suitable for those following vegan or dairy-free diets.
How thick should I spread the caramel layer over the cookie base?
Spread the caramel layer evenly over the cookie base, aiming for about 1/4 inch thickness. This balance allows for a rich flavor while ensuring it doesn’t overpower the cookie base or chocolate topping.
Healthy Twix Cookie Cups (Vegan, Paleo)
Ingredients
Method
- Preheat the oven to 350°F (175°C).
- In a mixing bowl, combine almond flour, melted coconut oil, maple syrup, vanilla extract, baking soda, and salt. Mix until a dough forms.
- Line a muffin tin with parchment paper. Press the dough into the bottom of each cup to form a base.
- Bake in the preheated oven for 10-12 minutes or until golden brown. Remove and let cool.
- In a food processor, combine soaked dates, nut butter, coconut milk, and vanilla extract. Blend until smooth and creamy.
- Spread the caramel mixture evenly over the cooled cookie bases.
- In a microwave-safe bowl, combine dark chocolate chips and coconut oil. Microwave in 30-second intervals, stirring until melted and smooth.
- Drizzle the melted chocolate over the caramel layer in each cookie cup.
- Refrigerate for at least 15 minutes to set the chocolate.