Delicious Valentine Cake Pops Recipe for a Sweet Celebration
There’s something magical about Valentine Cake Pops that instantly transforms any ordinary day into a delightful celebration. These little bites of joy encompass the velvety flavor of red velvet cake, dipped in creamy chocolate, and topped with heart-shaped sprinkles—what’s not to love? The joy of baking together with someone special, or even indulging solo while binge-watching your favorite rom-com, makes these treats a perfect match for any occasion.
Picture this: you’re in the kitchen, the sweet aroma of baked goodness wafting through the air, as you prepare these charming cake pops. They’re not just treats; they’re small pieces of happiness on a stick. Whether you’re planning a cozy date night with your partner or preparing festive treats for a gathering, Valentine Cake Pops promise to elevate the fun and flavor. Get ready to impress your loved ones and make some fantastic memories while crafting these delightful bites!
Why You'll Love This Valentine Cake Pops
- This incredible Valentine Cake Pops transforms simple everyday ingredients into restaurant-quality flavors that will blow your mind completely.
- Foolproof recipe techniques guarantee perfect results every single time, making even novice cooks feel like professional chefs instantly.
- Stunning visual appeal with gorgeous colors and mouthwatering aromas creates the ultimate Instagram-worthy dish for any special occasion.
- Endlessly adaptable for different dietary needs while working beautifully for meal prep, date nights, or entertaining large groups effortlessly.
Ingredients for Valentine Cake Pops
Here’s what you’ll need to make this delicious Valentine Cake Pops:
1 box (15.25 oz) red velvet cake mix – This is the heart and soul of your cake pops; it brings the signature flavor and vibrant color.
2 large eggs – Essential for binding the mixture together, ensuring your cake pops hold their shape nicely.
½ cup vegetable oil – Adds moisture and richness, making your cake pops soft and fluffy.
½ cup buttercream frosting – This sweet companion helps bind the crumbled cake into a dough, creating a deliciously creamy interior.
1 cup pink or white chocolate melts – These will be your cake pop coating, providing a sweet and smooth exterior that makes each bite irresistible.
¼ cup heart-shaped sprinkles – For that festive touch, these sprinkles add a bit of flair and fun.
8 lollipop sticks – These sturdy sticks are your tools for creating the pops, making them easy to hold and fun to eat.
How to Make Valentine Cake Pops
Follow these simple steps to prepare this delicious Valentine Cake Pops:
Step 1: Bake the Cake
Preheat your oven to 350°F (175°C) and lightly grease a cake pan. Pour in the red velvet cake mix, add the eggs and vegetable oil, then mix according to the package instructions. Bake until golden brown and a toothpick inserted comes out clean—about 30 minutes.
Step 2: Crumble the Cake
Once the cake has cooled completely, transfer it to a large bowl and crumble it into fine pieces. Think of it like a therapy session for cake—get those frustrations out!
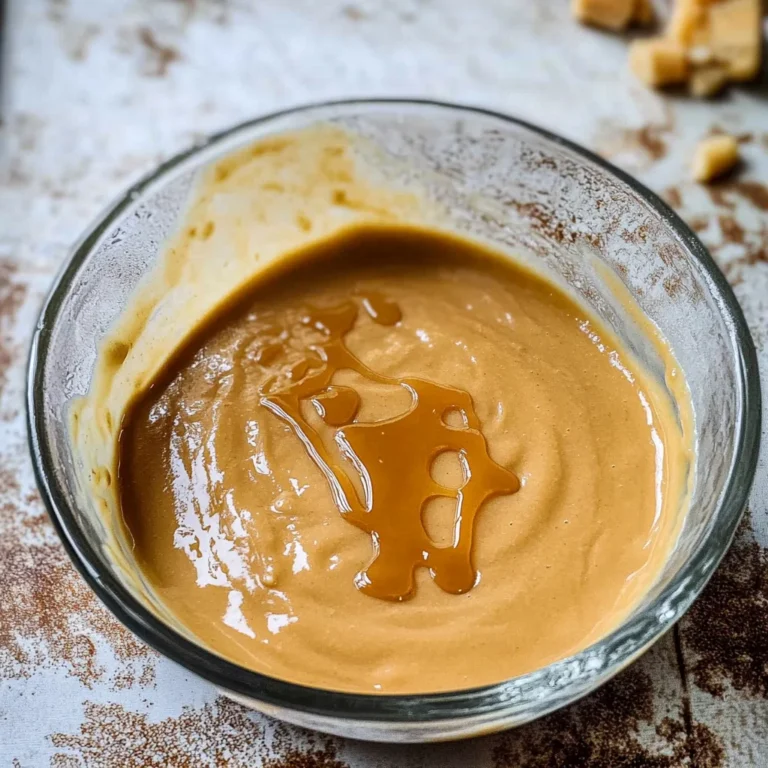
Step 3: Mix in the Frosting
Add the half-cup of buttercream frosting to the crumbled cake. Mix until a dough-like consistency forms. If it feels too dry, don’t be afraid to add more frosting; you want it to hold together like a firm cookie dough.
Step 4: Roll the Cake Pops
Take small portions of the mixture and roll them into one-inch balls. Place them on a parchment-lined baking sheet. This is a fun part—get the kids involved, or channel your inner artist while rolling those perfect little spheres.
Step 5: Insert the Lollipop Sticks
Melt a handful of chocolate melts according to package instructions. Dip the tip of each lollipop stick into the melted chocolate and insert it into each cake ball. This will help secure the sticks and add an extra layer of deliciousness to your pops.
Step 6: Chill and Coat
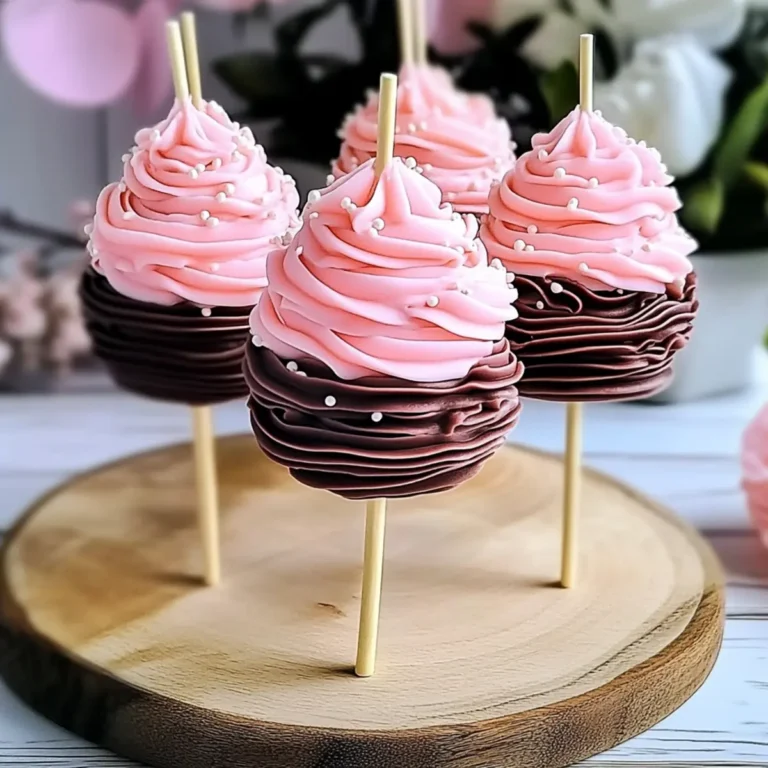
Chill the cake pops in the refrigerator for about an hour until they firm up. Once they’re set, dip each pop into the remaining melted chocolate. While the chocolate is still wet, sprinkle those heart-shaped sprinkles on top. Voilà! Your Valentine Cake Pops are ready to dazzle.
Transfer the pops to a display vase, arrange them in a gift box, or serve them on a pretty platter. Get ready for the oohs and aahs as you present these beautiful creations—everyone will be eager to grab a bite!
Overall, these Valentine Cake Pops are not just a treat; they are a heartfelt expression of sweetness that brings people together. Whether for a special event or simply to say “I love you,” they make any occasion a tad sweeter and a whole lot more fun! Happy baking, and enjoy every delicious bite!

This showstopping Valentine Cake Pops delivers restaurant-quality results using simple ingredients you probably already have at home. The perfect balance of textures and flavors creates an unforgettable dining experience that will have everyone asking for seconds. Picture-perfect presentation with vibrant colors makes this dish absolutely Instagram-worthy and guaranteed to impress any dinner guest. Incredibly versatile recipe that works beautifully for weeknight dinners, meal prep, special occasions, or even outdoor entertaining sessions.
Perfecting Valentine Cake Pops Cooking Process
To make the cooking process more efficient, start by preheating your oven and preparing your cake mix while the oven warms up. Once the cake is cooled, crumble and mix it with frosting, then roll and chill the pops before dipping them in melted chocolate.
Add Your Touch to Valentine Cake Pops
Feel free to customize your Valentine Cake Pops by swapping out the red velvet cake mix for a chocolate or vanilla option. You can also add flavor extracts like almond or peppermint for a unique twist on the traditional taste.
Storing & Reheating Valentine Cake Pops
Store your Valentine Cake Pops in an airtight container in the refrigerator for up to one week. If you need to reheat them, a quick 10-second zap in the microwave will help soften the chocolate coating without compromising their flavor.
Chef's Helpful Tips for Valentine Cake Pops
- This professional-quality Valentine Cake Pops relies on precise timing and temperature control to achieve restaurant-standard results consistently.
- Master the art of mise en place by prepping all ingredients beforehand, ensuring smooth execution and preventing any last-minute cooking disasters.
- The secret lies in layering flavors throughout the cooking process rather than seasoning only at the end for maximum depth.
- Pro tip: let the finished dish rest for optimal texture and flavor development before serving to hungry guests waiting eagerly.
There was that one Valentine’s Day when I surprised my partner with these cake pops. His smile was priceless as he bit into one, and he couldn’t stop raving about them. It felt amazing to spread sweetness that day!
FAQs About Valentine Cake Pops
What are Valentine Cake Pops?
Valentine Cake Pops are delightful bite-sized treats made by crumbling a baked cake, mixing it with frosting, and shaping it into balls. These treats are then coated in colorful melted chocolate and decorated with fun sprinkles, making them perfect for celebrating love. Often presented on lollipop sticks, they add a playful touch to any Valentine’s Day celebration. You can customize flavors, colors, and decorations to match your theme, making them as unique as the love you want to celebrate.
How do I store Valentine Cake Pops?
For optimal freshness, store your Valentine Cake Pops in an airtight container in the refrigerator. They can last up to a week, making them a perfect treat to enjoy over time. Just make sure they are well-protected from the fridge’s odors and moisture. If you want to enjoy them warm again, a quick 10-second zap in the microwave will soften the chocolate coating without losing any delicious flavor.
Can I customize my Valentine Cake Pops?
Absolutely! One of the best things about Valentine Cake Pops is their versatility. You can swap the red velvet cake mix for chocolate or vanilla to cater to different taste preferences. For a unique twist, try adding flavor extracts like almond or peppermint. Additionally, you can use various kinds of melted chocolate and sprinkles to tailor them for any occasion beyond Valentine’s Day.
What is the cooking time for Valentine Cake Pops?
The total cooking time for Valentine Cake Pops takes about 50 minutes, with 20 minutes for prep and 30 minutes for baking. After the initial steps, allow your decorated pops to chill for about an hour. This waiting period is crucial for ensuring they hold their shape once dipped in chocolate. Patience is key to achieving those perfect pops that will impress everyone!
Conclusion for Valentine Cake Pops
There you have it! Valentine Cake Pops are not only a delicious treat but also a fun project to bring joy to your celebrations. With simple ingredients and creative options for customization, these cake pops can be a sweet surprise for your loved ones. So, gather your ingredients and whip up some Valentine Cake Pops to elevate your festivities, creating sweet memories that last well beyond February 14th. Enjoy the love and laughter they bring!

Valentine Cake Pops
Ingredients
Equipment
Method
- Preheat oven to 350°F (175°C) and lightly grease a cake pan. Bake the cake mix according to package instructions until golden brown.
- Allow the cake to cool completely, then crumble it into fine pieces in a large bowl.
- Mix in half of the buttercream frosting until a dough-like consistency is achieved; add more frosting if necessary.
- Roll the mixture into one-inch balls and place on a parchment-lined baking sheet.
- Melt some chocolate melts; dip each lollipop stick into the melted chocolate before inserting them into each ball.
- Chill for about an hour until firm, then dip each pop in melted chocolate and decorate with sprinkles while still wet.