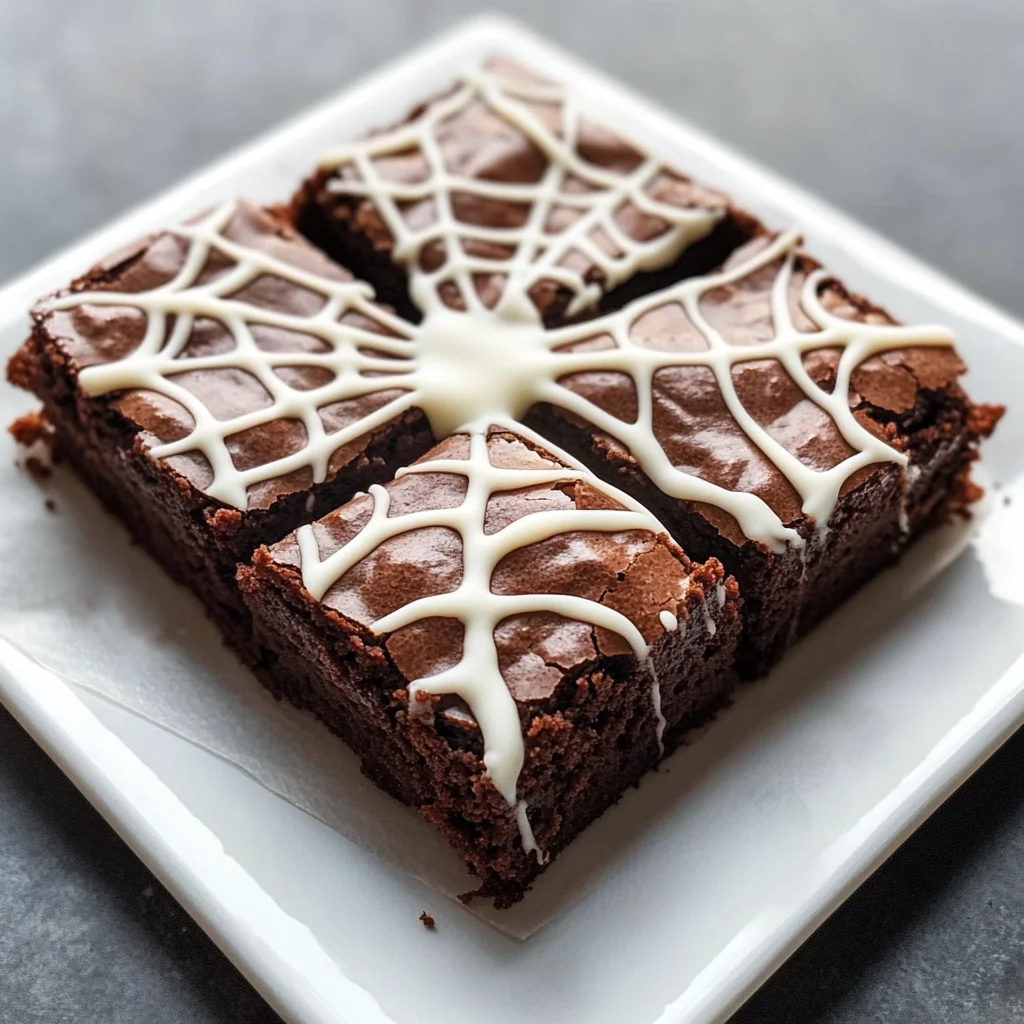
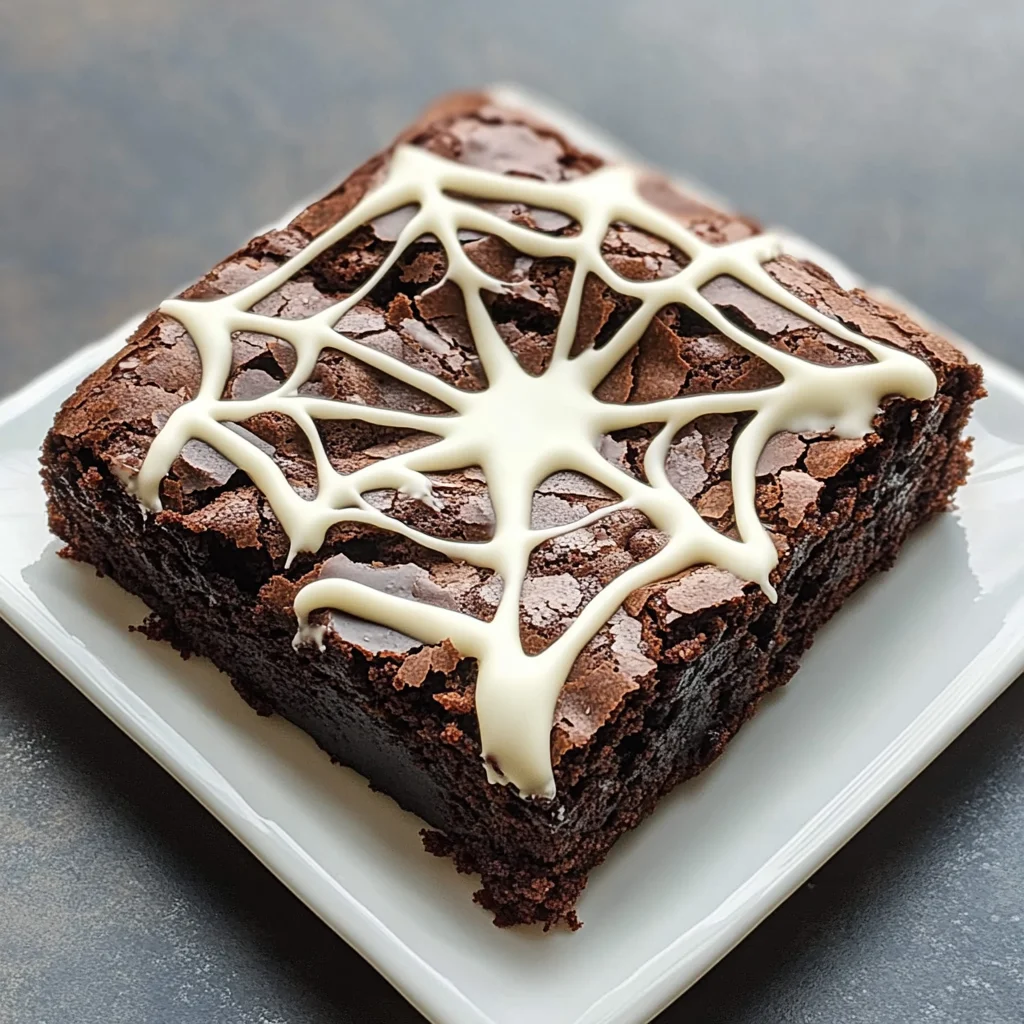
Spider Web Brownies
If you’re looking for a delightful treat that’s perfect for Halloween gatherings or cozy family nights, look no further than these Spider Web Brownies. They’re rich, chewy, and topped with a fun white chocolate spider web that brings a little festive flair to your dessert table. These brownies have a special place in my heart because they not only satisfy that chocolate craving but also make any occasion feel extra special.
Whether you’re hosting a Halloween party or simply want to surprise your family with something sweet after dinner, these brownies are sure to impress. Plus, they’re easy enough to whip up on a busy weeknight!
Why You’ll Love This Recipe
- Quick and Easy: This recipe comes together in just about 45 minutes, making it perfect for last-minute cravings or gatherings.
- Family-Friendly Fun: Kids love helping out in the kitchen! Decorating the brownies with the spider web is a fantastic activity for family bonding.
- Deliciously Chewy: The melted butter creates an incredibly soft texture that will have everyone coming back for seconds.
- Make Ahead: These brownies can be made ahead of time and stored for days, so you can plan your treats without stress.
- Festive Presentation: The simple white chocolate decoration makes these brownies look as good as they taste—perfect for impressing guests!
Ingredients You’ll Need
These Spider Web Brownies use simple, wholesome ingredients that you probably already have in your pantry. Let’s gather what you need to create this delicious dessert!
For the Brownies
- 1 cup butter
- ¾ cup cocoa powder
- 4 large eggs
- 2 cups sugar
- 3 tablespoons vegetable oil
- 2 teaspoons vanilla extract
- 1 ½ cups all-purpose flour
- 1 teaspoon baking powder
- 1 teaspoon salt
For the Decoration
- ⅓ cup white chocolate chips (melted)
Variations
This recipe is flexible and can be easily adapted to suit your taste. Here are some fun variation ideas:
- Add Some Nuts: Toss in some chopped walnuts or pecans for an added crunch.
- Swap the Chips: Use dark or milk chocolate chips instead of white chocolate for a different flavor profile.
- Mix in Extras: Consider adding mini marshmallows or caramel bits into the brownie batter for extra sweetness.
- Experiment with Toppings: Try drizzling caramel sauce on top along with the spider web design for an indulgent twist.
How to Make Spider Web Brownies
Step 1: Preheat and Prepare Your Pan
Start by preheating your oven to 350°F (175°C). Line a 9×13 inch pan with foil and give it a light spray with cooking spray. This ensures easy removal of the brownies after baking and keeps them from sticking.
Step 2: Melt the Butter and Cocoa
In a medium saucepan, melt the butter over low heat. Once it’s fully melted, take it off the heat and stir in the cocoa powder until well combined. This step is crucial as it creates that rich chocolate flavor we all love!
Step 3: Mix Wet Ingredients
In a large bowl, beat together your eggs, sugar, and vegetable oil until they become light and foamy. This adds air into your mixture, resulting in beautifully fluffy brownies. Then add your melted butter/cocoa mixture along with the vanilla extract, stirring until everything is smooth.
Step 4: Combine Dry Ingredients
In another medium bowl, mix together flour, baking powder, and salt. Gradually add this dry mixture to your wet ingredients. Stir gently until just combined—overmixing can lead to tough brownies!
Step 5: Bake
Pour the brownie batter into your prepared pan and spread it evenly. Bake in the preheated oven for about 25-30 minutes. To check if they’re done, insert a toothpick into the center; it should come out clean. Once baked, let them cool completely before cutting into squares.
Step 6: Decorate with Spider Webs
For that spooky touch, fill a small ziplock bag with melted white chocolate. Cut off one corner of the bag and pipe out decorative spider webs on top of each brownie square. It’s so much fun! Serve immediately or store them in an airtight container for up to three to five days.
Enjoy creating these delightful Spider Web Brownies! They are bound to bring smiles—both from their delicious flavor and playful presentation!
Pro Tips for Making Spider Web Brownies
Making these Spider Web Brownies can be a breeze if you keep a few handy tips in mind. Here are some pro tips to ensure your brownies turn out perfectly every time!
- Use room temperature ingredients: Bringing your eggs and butter to room temperature helps them blend more easily, creating a smoother batter that results in fluffy brownies.
- Check for doneness: Baking times can vary depending on your oven. Keep an eye on your brownies as they bake—if the edges start pulling away from the pan and a toothpick comes out with a few moist crumbs, they’re ready to come out!
- Let them cool completely: Allowing the brownies to cool before cutting helps them set properly and makes it easier to achieve clean, neat squares for serving.
- Experiment with decorations: While the spider web design is festive, consider adding sprinkles or edible glitter for an extra touch of fun, making your dessert even more appealing.
- Store properly: To keep your brownies fresh and moist, store them in an airtight container. You can also place a slice of bread in the container to help maintain moisture!
How to Serve Spider Web Brownies
These delightful brownies not only taste amazing but also look stunning when served right! Here are some creative ideas for presenting them at your next gathering or Halloween party.
Garnishes
- Powdered sugar: A light dusting of powdered sugar on top of your brownies adds a delightful sweetness and gives a snowy effect that contrasts beautifully with the chocolate.
- Chocolate shavings: Grating some dark chocolate on top adds a rich touch and enhances the chocolate flavor profile, making each bite even more indulgent.
Side Dishes
- Vanilla ice cream: The creamy texture of vanilla ice cream pairs perfectly with fudgy brownies, creating a wonderful contrast of temperatures and flavors.
- Fresh fruit salad: A bright mix of seasonal fruits provides freshness and balances out the richness of the brownies, making for a well-rounded dessert experience.
- Whipped coconut cream: This dairy-free alternative is light yet creamy, offering a luscious topping that complements the chocolate without overpowering it.
- Coffee or hot cocoa: Serving these brownies alongside a warm beverage elevates the dessert experience. The richness of coffee enhances the chocolate flavor while hot cocoa brings comforting nostalgia.
With these tips and serving suggestions, you’re all set to wow your friends and family with delicious Spider Web Brownies that are perfect for any occasion! Enjoy baking!
Make Ahead and Storage
These Spider Web Brownies are perfect for meal prep, making them an excellent choice for parties or Halloween gatherings. You can easily whip up a batch in advance and enjoy them fresh throughout the week.
Storing Leftovers
- Allow the brownies to cool completely before storing.
- Place them in an airtight container at room temperature for up to 3-5 days.
- If you prefer, you can layer parchment paper between the brownies to prevent sticking.
Freezing
- Cut the brownies into squares before freezing.
- Wrap each square individually in plastic wrap and then place them in a freezer-safe bag.
- They can be frozen for up to 3 months. Just be sure to label the bag with the date!
Reheating
- To reheat, simply take out the desired number of squares from the freezer.
- Let them thaw at room temperature for about 30 minutes.
- For a warm treat, pop them in the microwave for about 10-15 seconds.
FAQs
Here are some common questions you might have regarding Spider Web Brownies.
Can I make Spider Web Brownies ahead of time?
Absolutely! These brownies can be made a day or two in advance. Just store them in an airtight container, and they will be just as delicious when you’re ready to serve.
What’s the best way to decorate my Spider Web Brownies?
For a fun decoration, use melted white chocolate to create spider web designs. A simple piping bag or ziplock bag works perfectly for this task!
How should I store leftover Spider Web Brownies?
Store your leftovers in an airtight container at room temperature for up to 3-5 days. If you want to keep them longer, consider freezing them!
Can I customize the toppings on my Spider Web Brownies?
Definitely! Feel free to add different toppings like candy spiders or sprinkles on top of your spider web design for extra flair.
Final Thoughts
I hope you find joy in baking these delightful Spider Web Brownies! They’re not only fun and festive but also incredibly delicious. Whether you’re serving them at a gathering or enjoying them with family, they’re sure to bring smiles all around. Enjoy your baking journey and don’t forget to share your creations!
Spider Web Brownies
Indulge in the festive spirit of Halloween with these delicious Spider Web Brownies! Rich and chewy, these chocolate delights are topped with a playful white chocolate spider web that adds a whimsical touch to your dessert table. Perfect for gatherings or cozy family nights, these brownies are not only easy to make but are also a fun activity for kids in the kitchen. Whether you’re hosting a Halloween party or simply craving something sweet, these delightful brownies will impress everyone with their irresistible flavor and charming presentation.
- Prep Time: 15 minutes
- Cook Time: 30 minutes
- Total Time: 45 minutes
- Yield: Approximately 24 servings 1x
- Category: Dessert
- Method: Baking
- Cuisine: American
Ingredients
- 1 cup butter
- ¾ cup cocoa powder
- 4 large eggs
- 2 cups sugar
- 3 tablespoons vegetable oil
- 2 teaspoons vanilla extract
- 1 ½ cups all-purpose flour
- 1 teaspoon baking powder
- 1 teaspoon salt
- ⅓ cup white chocolate chips (melted)
Instructions
- Preheat your oven to 350°F (175°C). Line a 9×13 inch pan with foil and lightly spray with cooking spray.
- Melt the butter in a medium saucepan over low heat, then stir in cocoa powder until smooth.
- In a large bowl, beat together eggs, sugar, and vegetable oil until light and foamy. Add the melted butter mixture and vanilla extract.
- In another bowl, mix flour, baking powder, and salt. Gradually combine this dry mixture into the wet ingredients until just mixed.
- Pour batter into the prepared pan and spread evenly. Bake for 25-30 minutes until a toothpick comes out clean. Let cool completely before cutting.
- Decorate by piping melted white chocolate in spider web designs on top.
Nutrition
- Serving Size: 1 serving
- Calories: 180
- Sugar: 17g
- Sodium: 100mg
- Fat: 9g
- Saturated Fat: 5g
- Unsaturated Fat: 4g
- Trans Fat: 0g
- Carbohydrates: 24g
- Fiber: <1g
- Protein: 2g
- Cholesterol: 55mg